

Top Mistakes to Avoid When Installing Marine Carpet
Installing boat carpet is one of the best ways to refresh your boat's look and comfort, but it's also easy to get wrong. Many boat owners jump into the project without realizing how small mistakes can lead to costly do-overs, water damage, or uneven results. Whether you're replacing old carpet or upgrading for the season, understanding what not to do is just as important as knowing the right steps.
According to the National Marine Manufacturers Association, proper boat maintenance including quality flooring materials can extend your vessel's lifespan by up to 40%. In this guide, we'll cover the most common mistakes people make when installing marine carpet and how to avoid them for a smooth, professional finish that lasts.
Also Read
TL;DR
Installing boat carpet requires careful surface preparation, choosing marine-grade materials, using proper adhesives, accurate measurements, and attention to weather conditions. Avoid common mistakes like skipping surface prep, using wrong adhesives, poor cutting techniques, ignoring temperature requirements, and forgetting edge sealing. These errors lead to premature failure, water damage, and costly replacements. Follow professional techniques and use quality materials for long-lasting results.
Key Takeaways
-
Clean and dry all surfaces thoroughly before applying new carpet to ensure proper adhesion
-
Always use marine-grade carpet with UV resistance and proper drainage features
-
Select adhesives specifically formulated for marine environments to prevent early failure
-
Measure twice and cut once using templates to avoid wasting expensive materials
-
Install during optimal weather conditions with temperatures between 60-80°F and low humidity
Skipping Proper Surface Preparation
The foundation of any successful carpet installation starts with proper surface preparation. Rushing this critical step is the number one reason marine carpet installations fail prematurely.
Why Cleaning and Drying the Deck Surface Matters
Water, salt, and oils create a barrier between your adhesive and the boat surface. Even a thin film of moisture or residue prevents proper bonding, leading to bubbles, wrinkles, and early lifting. Your deck must be completely clean and bone dry before you apply any adhesive.
Removing Old Adhesive and Debris Thoroughly
Old adhesive creates an uneven surface that prevents new carpet from lying flat. Use a scraper or adhesive remover specifically designed for marine applications. Remove every trace of old glue, as new adhesive won't bond properly to old residue. This step takes time but saves you from redoing the entire job.
Sanding or Smoothing Rough Areas Before Applying New Carpet
Rough spots show through carpet and create weak points where water can collect. Sand down any rough patches, fill cracks with marine-grade filler, and create a smooth, even surface. Pay special attention to areas around hatches and corners where imperfections are most visible.
Uneven surfaces cause premature wear in high-traffic areas. The carpet will wear through faster on raised spots and won't adhere properly in low spots.
Allowing Enough Time for Surfaces to Dry Completely
Moisture is adhesive's enemy. After cleaning, wait at least 24 hours for surfaces to dry completely. In humid climates, this may take longer. Use fans to accelerate drying if needed. Test dryness by taping a plastic sheet to the surface overnight. If you see condensation in the morning, the surface isn't ready.

Choosing the Wrong Marine Carpet
Not all carpet is created equal, and using the wrong type leads to quick deterioration and wasted money.
Differences Between Indoor/Outdoor, Marine-Grade, and Automotive Carpet
Marine-grade carpet undergoes special treatments that regular carpet doesn't receive. Indoor/outdoor carpet lacks the UV protection needed for constant sun exposure. Automotive carpet isn't designed to drain water or resist mildew. Marine carpet features closed-cell backing that prevents water absorption and promotes quick drying.
UV Resistance and Water Drainage Features
UV-resistant fibers prevent fading and brittleness that occurs with prolonged sun exposure. Look for carpets with UV inhibitors built into the fiber structure, not just surface treatments that wash away.
Proper drainage backing allows water to flow through rather than pooling underneath. This prevents mold, mildew, and rot. The backing should be perforated or designed with channels that direct water away from the adhesive layer.
Matching Carpet Type to Your Boat's Use and Climate
Saltwater boats need extra corrosion resistance. Freshwater vessels can use standard marine carpet. If you boat in high-UV environments like Florida or Arizona, invest in maximum UV protection. For boats used primarily in covered slips, you can prioritize comfort over extreme weather resistance.
Budget Pitfalls: Why Cheaper Isn't Always Better
Cheap carpet fails faster, requiring complete replacement within 1-2 seasons instead of lasting 5-7 years. The money you save upfront gets spent multiple times over in replacements and labor. Quality marine carpet from reputable suppliers like Cuda Power Sports costs more initially but delivers superior longevity and performance.
Using the Wrong Adhesive
Adhesive selection makes or breaks your installation. The wrong adhesive fails quickly, especially in marine environments.
Why You Can't Use Regular Glue or Spray Adhesive
Regular adhesives break down when exposed to water, heat, and UV rays. Spray adhesives designed for home use lack the strength needed to hold carpet in place during rough water conditions. Marine environments demand specialized formulas that resist water intrusion and maintain flexibility through temperature changes.
Best Marine Carpet Adhesives for Long-Term Hold
Contact cement specifically formulated for marine use provides the strongest, most durable bond. Look for products labeled as water-resistant or waterproof. Two-part epoxy adhesives offer excellent durability but require precise mixing and faster application. For professional results, consider consulting resources on the best adhesive for marine applications.
Common Signs of Poor Adhesive Bonding
Bubbling indicates trapped air or moisture beneath the carpet. This happens when adhesive doesn't make full contact with both surfaces or when surfaces weren't properly dried.
Lifting edges signal inadequate adhesive coverage or using the wrong product. Edges should remain firmly bonded even after weeks of water exposure.
Wrinkles that appear after installation mean the adhesive didn't cure properly or the carpet shifted during the curing process.
Application Tips for Even Coverage and Durability
Apply adhesive to both the deck surface and carpet backing for maximum hold. Use a notched trowel to ensure even coverage without excess. Work in small sections to prevent adhesive from drying before carpet placement. Follow the manufacturer's specified open time, which indicates how long you have to position the carpet after applying adhesive.
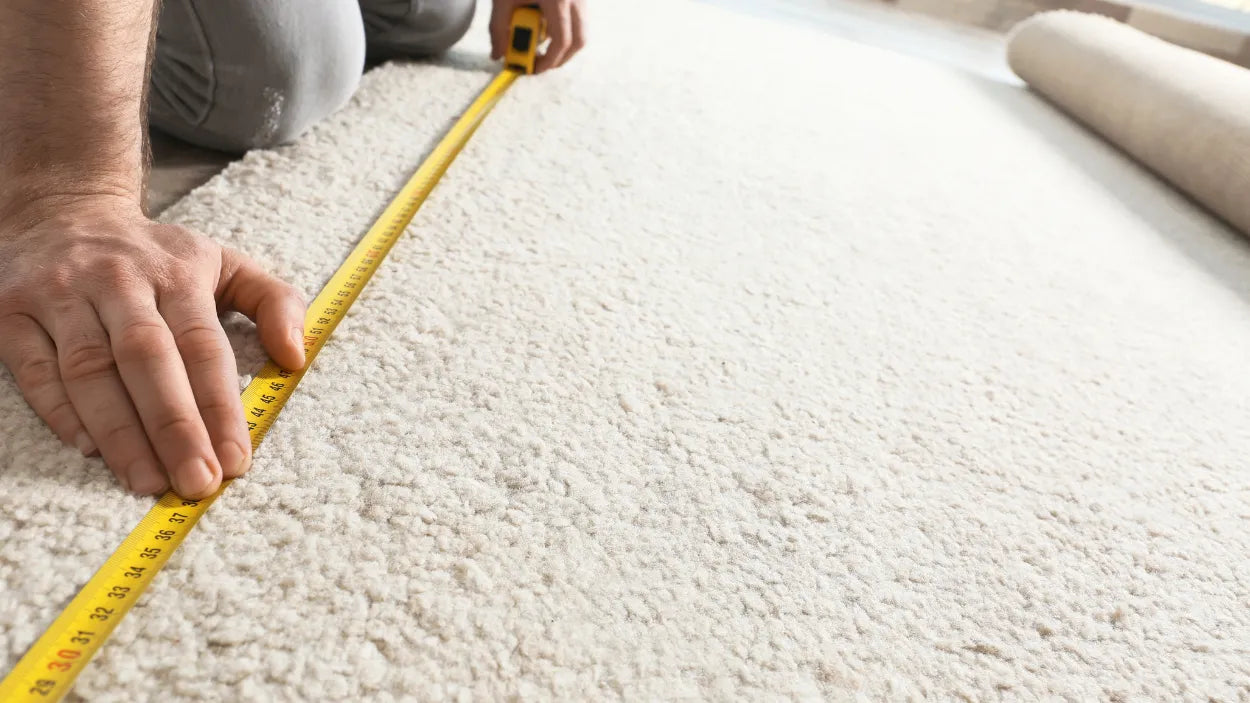
Incorrect Carpet Measurement and Cutting
Accurate measurements prevent waste and ensure professional-looking results. Mistakes here cost money and time.
How to Measure Accurately Around Boat Contours and Hatches
Boats feature complex curves, angles, and obstacles. Measure each section individually rather than trying to use one large piece. Take multiple measurements of irregular areas and use the largest dimension to ensure adequate coverage. Account for the carpet's thickness when measuring around raised features like hatches or cleats.
Common Cutting Mistakes That Waste Material
Cutting too small leaves gaps that look unprofessional and allow water underneath. Always add an extra inch to measurements and trim to fit.
Not accounting for carpet direction creates visible seams and color variations. Marine carpet has a nap direction that affects appearance. Keep all pieces oriented the same way.
Cutting without support leads to jagged edges and uneven lines. Always cut on a flat, stable surface with a sharp blade.
Using Templates or Mock-Ups Before Final Cuts
Create templates using cardboard, craft paper, or old carpet. This allows you to perfect your cuts without risking expensive material. Test-fit templates in the boat and adjust as needed. Transfer template patterns to new carpet and cut confidently.
Keeping Carpet Orientation Consistent for Visual Appeal
Marine carpet has a nap that reflects light differently depending on direction. Mark the back of each piece with arrows indicating nap direction. Install all pieces with the nap running the same way to avoid a patchwork appearance.
Ignoring Temperature and Humidity Conditions
Environmental conditions dramatically affect installation success. Installing in poor weather guarantees premature failure.
Ideal Weather for Carpet Installation
The sweet spot for installation is 60-80°F with humidity below 60%. These conditions allow adhesive to cure properly and carpet to lay flat without expanding or contracting. Plan your project for spring or fall when temperatures are moderate and stable.
How Humidity Affects Adhesive Cure Time
High humidity slows adhesive curing, sometimes preventing it from fully bonding. In humid conditions, adhesive may remain tacky for days instead of curing within hours. This extended cure time allows carpet to shift and create wrinkles. Low humidity can cause adhesive to dry too quickly, reducing working time.
Why Installing in Cold or Damp Weather Causes Early Failure
Cold temperatures prevent proper adhesive activation. Below 50°F, most marine adhesives don't achieve full bonding strength. The molecular structure doesn't properly cross-link, leaving a weak bond that fails under stress.
Moisture interferes with adhesion at the molecular level. Even if surfaces feel dry, cold temperatures can create condensation that prevents adhesive from bonding. Never install when rain is forecast within 24 hours or when morning dew is present.
Wait for warm, dry weather or use a heated workspace. The patience required for ideal conditions pays off in longevity and performance.
Overlooking Edge Sealing and Finishing Touches
The final details separate amateur installations from professional results. Neglecting edges and finishing work leads to rapid deterioration.
How to Seal Edges to Prevent Fraying
Marine carpet edges fray quickly when exposed to water and traffic. Apply marine-grade edge sealer or flexible adhesive along all cut edges. This creates a waterproof barrier that locks fibers in place. For high-traffic areas, consider binding edges with marine vinyl or rubber trim.
Trimming Techniques for Tight, Clean Seams
Use a sharp utility knife with a fresh blade for every major cut. Cut from the back side of the carpet to prevent visible fraying on the top surface. Press carpet firmly into corners and along edges before making final trim cuts. Leave a small gap (1/8 inch) between carpet and vertical surfaces to allow for expansion.
Final Inspection Checklist Before Setting the Carpet Permanently
Before adhesive fully cures, inspect your work:
-
Check for bubbles or lifted areas and press firmly to eliminate trapped air
-
Verify all edges are sealed and properly adhered
-
Confirm consistent carpet direction across all sections
-
Test for adequate adhesion by gently pulling corners
-
Remove any adhesive residue from visible surfaces
-
Inspect seams for alignment and proper closure
Make corrections immediately while adhesive is still workable. Once fully cured, fixes become difficult and obvious.
Forgetting Maintenance After Installation
Installation isn't the end of the job. Proper maintenance extends your carpet's life and keeps it looking new.
Proper Cleaning and Drying Routines
Rinse carpet with fresh water after every outing to remove salt, dirt, and organic material. Use a soft brush with marine carpet cleaner for deeper cleaning. Never let carpet stay wet for extended periods. Promote airflow with hatches open or fans running. Consider resources on proper boat maintenance for comprehensive care strategies.
Avoiding Harsh Chemicals That Weaken Adhesives
Bleach, ammonia, and petroleum-based cleaners break down marine adhesives and carpet fibers. Use pH-neutral cleaners specifically formulated for marine carpet. Test any new cleaner on a small, hidden area first. Avoid pressure washers that can force water under carpet edges and compromise adhesive bonds.
When to Reapply Adhesive or Replace Sections
Lifting edges indicate adhesive failure and require immediate attention. Clean the area thoroughly, allow it to dry completely, and reapply marine adhesive.
Persistent odors despite cleaning suggest water intrusion and possible mold growth underneath. Remove affected sections, treat the deck with mildew inhibitor, and reinstall with fresh adhesive.
Visible wear patterns in high-traffic areas are normal but can be addressed by replacing individual sections rather than the entire carpet.
Conclusion
Installing marine carpet isn't complicated, but avoiding these common mistakes makes the difference between a quick fix and a long-lasting upgrade. By choosing the right materials, prepping your surface carefully, and paying attention to detail, you'll achieve a professional-looking finish that stands up to the elements.
Ready to start your next marine carpet project? Visit Cuda Power Sports for expert guidance and top-quality marine flooring supplies!
Frequently Asked Questions
Q: How long does marine carpet adhesive take to fully cure?
A: Most marine carpet adhesives cure within 24-48 hours, but full strength develops over 7 days. Avoid heavy use and water exposure during the initial curing period.
Q: Can I install marine carpet over old carpet?
A: No. Installing over old carpet creates a weak, uneven surface that traps moisture and fails quickly. Always remove old carpet and adhesive completely before installing new material.
Q: What's the best tool for cutting marine carpet?
A: A sharp utility knife with heavy-duty blades works best. Replace blades frequently to maintain clean cuts. Some installers prefer carpet shears for curved cuts.
Q: How do I prevent mold and mildew under marine carpet?
A: Ensure proper surface preparation, use marine-grade adhesive, choose carpet with perforated backing, and maintain good ventilation. Regular cleaning and drying prevent moisture buildup.
Q: Is professional installation worth the cost for marine carpet?
A: If you lack experience with adhesives, measurements, or working with marine materials, professional installation ensures proper technique and often includes warranty coverage. DIY installation saves money but requires careful attention to detail and proper materials.